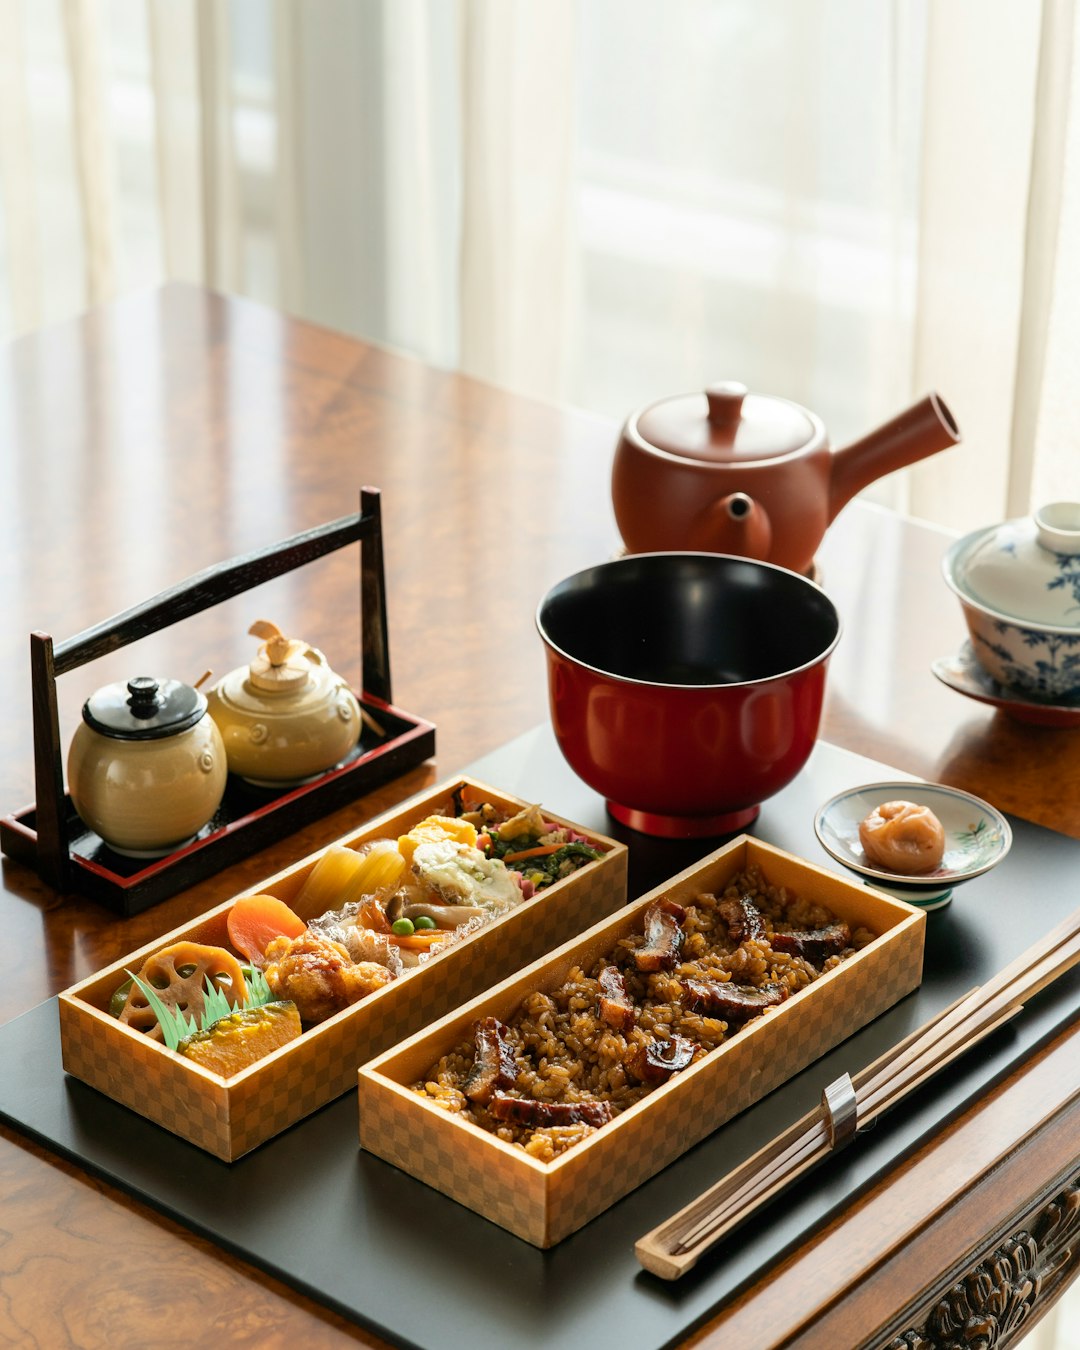
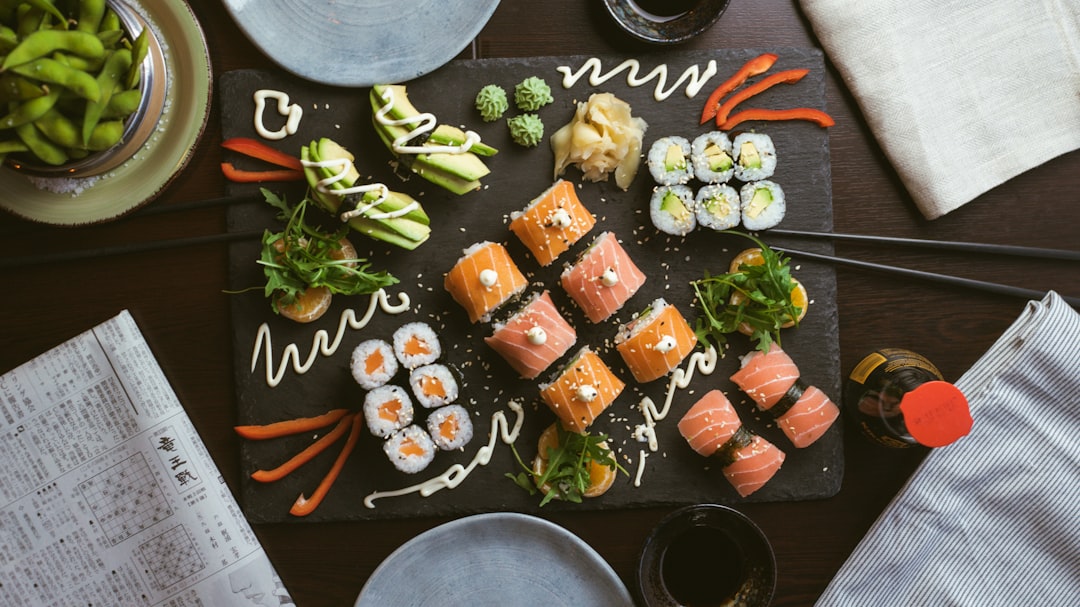
Perfect Sushi Rice Guide
Sushi rice is the foundation of great sushi. This guide will teach you how to make perfectly seasoned, sticky-yet-fluffy sushi rice that's ideal for rolls, nigiri, or rice bowls. Master this technique and you're halfway to becoming a sushi expert!
Instructions
-
Rinse the Rice
Place the rice in a fine-mesh strainer and rinse under cold running water, gently rubbing the grains between your fingers. Continue until the water runs clear, about 2-3 minutes. This removes excess starch and results in fluffier rice.
Tip: Don't skip the rinsing step—it's essential for proper texture.
-
Soak the Rice
Transfer the rinsed rice to a rice cooker or heavy-bottomed pot and add the measured cold water. Let the rice soak for 30 minutes. This allows the grains to absorb water evenly before cooking.
-
Cook the Rice
If using a rice cooker: Add the kombu (if using) on top of the rice and cook according to the manufacturer's instructions.
If using a pot: Add the kombu (if using), bring to a boil over medium-high heat, then immediately reduce heat to low. Cover with a tight-fitting lid and simmer for 15 minutes. Do not remove the lid during cooking.
-
Prepare the Sushi Vinegar
While the rice is cooking, combine the rice vinegar, sugar, and salt in a small saucepan. Heat over low heat, stirring until the sugar and salt completely dissolve. Remove from heat and cool to room temperature.
Variation: For milder flavor, reduce vinegar to 3 tablespoons. For sweeter rice, increase sugar to 3 tablespoons.
-
Rest the Rice
Once the rice is cooked, let it rest with the lid on for 10 minutes. This allows the moisture to distribute evenly and completes the cooking process.
-
Season the Rice
Transfer the hot rice to a large wooden or glass bowl (metal bowls can react with the vinegar). Remove the kombu if used.
Drizzle the vinegar mixture evenly over the rice. Using a rice paddle or wooden spoon, gently fold the rice with a slicing motion to incorporate the seasoning without mashing the grains.
-
Cool the Rice
As you fold the rice, have someone fan it, or use a piece of cardboard to fan it yourself. This cools the rice and helps it develop a glossy finish while absorbing the seasoning.
Important: Do not refrigerate the rice, as it will harden.
-
Rest and Use
Cover the seasoned rice with a damp kitchen towel to prevent it from drying out. Use within 1-2 hours for best texture and flavor.
Recipe Notes
- Rice Selection: Use only short-grain Japanese rice labeled "sushi rice" or "Calrose rice" for authentic results. Long-grain rice won't provide the necessary stickiness.
- Water Ratio: The perfect ratio is generally 1:1.1 or 1:1.2 (rice:water). Adjust slightly based on your specific rice and cooking method.
- Vinegar Mix: The sushi vinegar mixture (called "sushi-zu") can be prepared ahead of time and stored in the refrigerator for up to a month.
- Temperature: Sushi rice should be used at body temperature or room temperature—never cold.
- Storage: If you must store leftover sushi rice, keep it at room temperature covered with a damp cloth for up to 6 hours. For longer storage, wrap in plastic and refrigerate, but note that the texture will suffer.
Troubleshooting Sushi Rice
Rice Too Mushy
Possible causes: Too much water, overcooked, or not rinsed thoroughly.
Solution: Next time, reduce water by 1-2 tablespoons and ensure thorough rinsing. If already cooked, spread on a baking sheet and dry in a 300°F (150°C) oven for 5 minutes.
Rice Too Dry or Hard
Possible causes: Not enough water, insufficient soaking time, or lid opened during cooking.
Solution: Increase water ratio slightly next time. For already cooked rice, sprinkle with a little warm water and gently mix, then cover with a damp cloth for 10 minutes.
Rice Too Vinegary
Possible causes: Too much seasoning mixture or unevenly distributed.
Solution: Mix in a small amount of additional unseasoned cooked rice if available, or rinse briefly under cold water (though this is a last resort).
Rice Not Sticky Enough
Possible causes: Wrong type of rice used or insufficient rinsing/soaking.
Solution: Ensure you're using proper short-grain Japanese rice. If already cooked, try adding a bit more of the vinegar mixture and mixing more thoroughly.
Ways to Use Sushi Rice
Maki Rolls
Spread on nori sheets, add fillings, and roll into classic sushi rolls.
Nigiri
Form into small oval balls and top with sliced fish or vegetables.
Chirashi
Serve as a rice bowl topped with a variety of sashimi, vegetables, and pickles.
Onigiri
Shape into triangles or balls with fillings in the center for Japanese rice balls.
Poke Bowls
Use as a base for Hawaiian-inspired poke bowls with marinated fish and toppings.
Temaki
Create hand-rolled sushi cones with your favorite fillings.
Frequently Asked Questions
Can I use regular rice instead of sushi rice?
No, regular long-grain rice won't work as it lacks the proper starch content. You need short-grain Japanese rice specifically labeled as "sushi rice" for the right sticky texture.
Can I make sushi rice without rice vinegar?
Rice vinegar provides the distinctive flavor of sushi rice, but in a pinch, you can substitute with white vinegar mixed with a bit more sugar. Apple cider vinegar is another alternative, though the flavor will be slightly different.
Why do we fan the rice?
Fanning the rice serves two important purposes: it cools the rice quickly to prevent overcooking, and it helps evaporate excess moisture, giving the rice a glossy appearance and proper texture.
Can I make sushi rice ahead of time?
Ideally, sushi rice should be used within 1-2 hours of preparation for the best texture. If necessary, you can keep it at room temperature under a damp cloth for up to 6 hours, but never refrigerate it as it will become hard.
Share this Recipe
You Might Also Like
Homemade Teriyaki Sauce
Make authentic teriyaki sauce from scratch with just a few simple ingredients.
View Recipe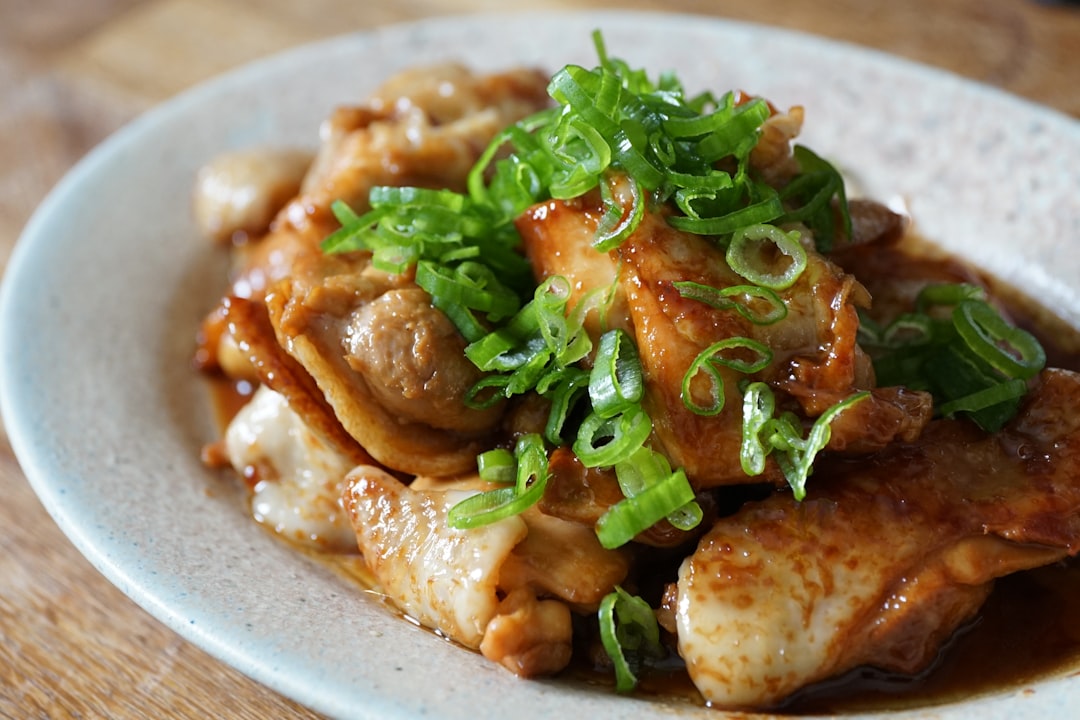
Homemade Ramen Bowl
Create restaurant-quality ramen at home with this comprehensive guide.
View Recipe
Comments
David Lee
1 week agoI've always struggled with making good sushi rice, but this guide changed everything! The soaking step and the precise water measurements made all the difference. My homemade sushi is now restaurant quality.
Maria Garcia
3 weeks agoThe troubleshooting section was so helpful! My rice was always too mushy before, but following these instructions fixed the problem. I love the detailed explanations of why each step matters.